A Step-by-Step Guide to Fixing a Hole in the Drywall Procedure
DIY Drywall Magic: Repairing Holes with Precision
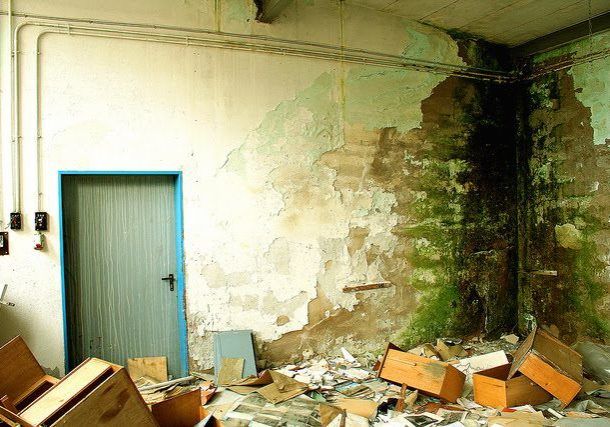
Whether it's the result of an accidental bump, a moving mishap, or simply wear and tear, a hole in your drywall can be an unsightly and frustrating issue. The good news is that you don't need to be a professional handyman to fix it. With a few simple tools and some patience, you can repair that hole and restore your wall to its former glory. In this step-by-step guide, we'll walk you through the process of fixing a hole in the wall with drywall.
Materials You'll Need
Before you begin, make sure you have the following materials on hand:
- Drywall patch or a spare piece of drywall
- Utility knife
- Sandpaper (coarse and fine-grit)
- Joint compound (also known as drywall mud)
- Putty knife or drywall taping knife
- Drywall tape (if needed)
- Primer
- Paint
- Paintbrush or roller
- Sanding sponge or block
Step 1: Prepare the Hole
Start by removing any loose or damaged drywall around the hole. Use a utility knife to trim away any frayed edges and create a clean, smooth surface around the hole. This step is essential for ensuring a solid patch.
Step 2: Apply a Patch
If your hole is small, you can use a pre-made drywall patch. If it's larger, you'll need to cut a piece of spare drywall to fit the hole. The patch should be slightly smaller than the hole itself. Apply a thin layer of joint compound to the back of the patch and press it firmly into the hole.
Step 3: Fill the Hole
Using a putty knife or drywall taping knife, apply a thin layer of joint compound over the patch, feathering the edges to blend it with the surrounding wall. Be sure to fill the hole completely and smooth out any excess compound. Allow it to dry according to the manufacturer's instructions, usually overnight.
Step 4: Sand the Patch
Once the joint compound is dry, use coarse-grit sandpaper to smooth the patched area. Start with gentle, circular motions and gradually work your way out until the patch is flush with the wall. Finish with fine-grit sandpaper for a smooth, even finish.
Step 5: Apply Additional Layers
Depending on the size of the hole, you may need to apply additional layers of joint compound. Repeat the process of applying, drying, and sanding until the patch is perfectly smooth and blends seamlessly with the wall.
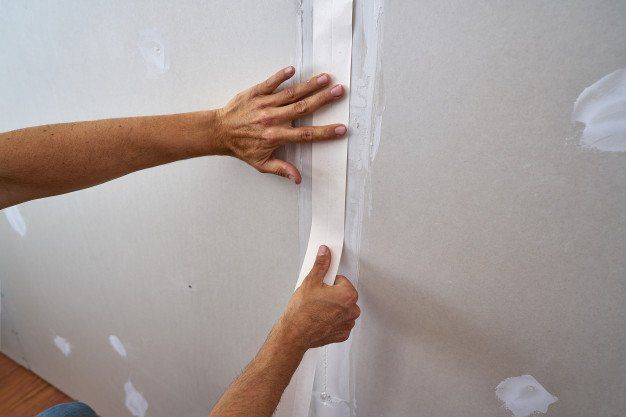
Step 6: Tape the Seams (if needed)
If your repair area involves seams, such as when patching a larger hole, apply a layer of drywall tape over the seam before adding joint compound. Smooth it out and cover it with joint compound, feathering the edges as before. Let it dry and sand it smooth.
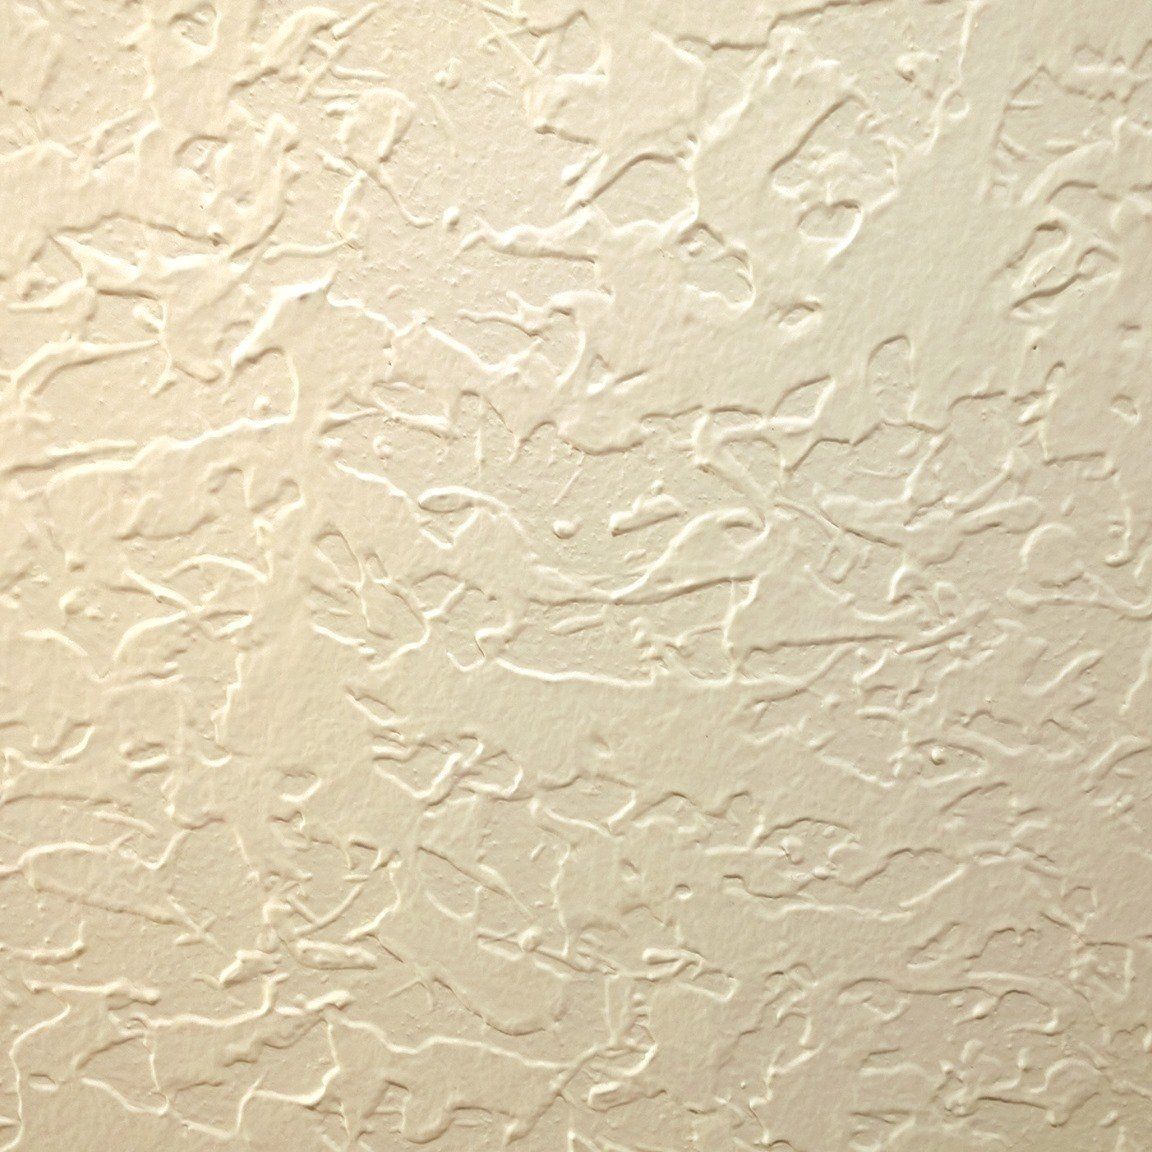
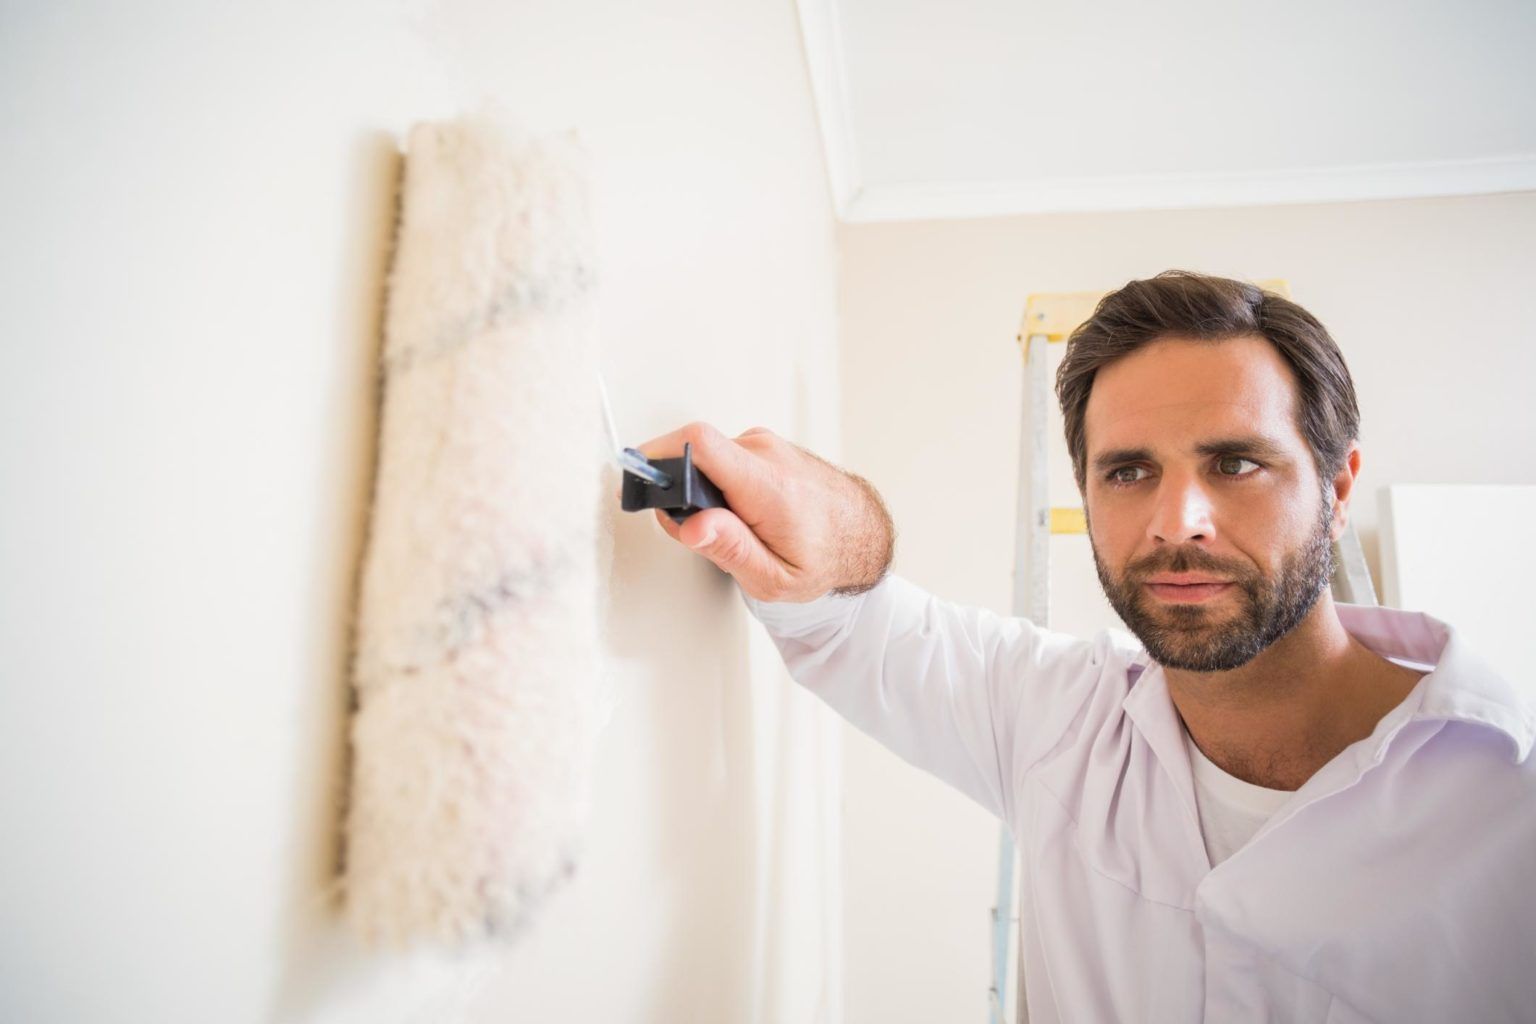
Step 7: Prime and Paint
Before painting, apply a coat of primer to the patched area. This will help the paint adhere evenly. Once the primer is dry, paint the patched area to match the rest of the wall. Use a paintbrush or roller as appropriate for your wall's texture.
Step 8: Clean Up
Finally, clean your tools and dispose of any debris properly. Your wall should now be restored to its original condition, and that unsightly hole will be a thing of the past.
Conclusion
Fixing a hole in the wall with drywall may seem daunting, but with the right materials and a little patience, it's a manageable DIY project. By following these step-by-step instructions, you can make your wall look as good as new, saving you both time and money. So, roll up your sleeves, gather your materials, and get ready to tackle that wall repair with confidence!
Ready to work with Dallas Drywall Contractor Pros?
Let's connect! We’re here to help.
Send us a message and we’ll be in touch.
Or give us a call today at 469-908-1924
Agency Contact Form
More Marketing Tips, Tricks & Tools