Mastering the Art of Orange Peel Texture: A DIY Guide
Master Orange Peel Texture with Simple Tools
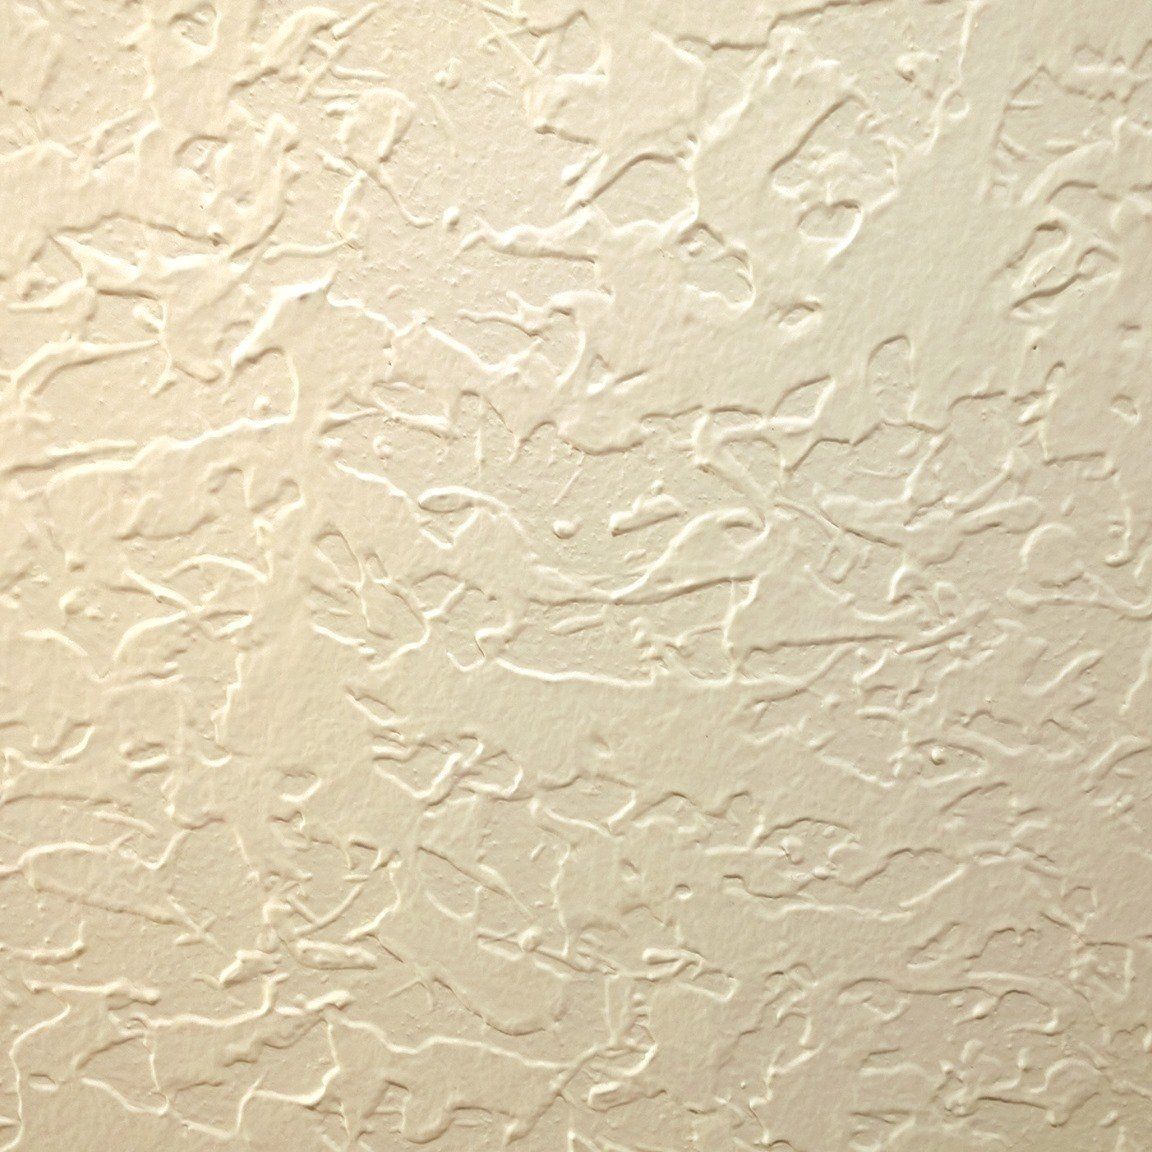
In the world of interior design, textures play a pivotal role in adding depth and dimension to our spaces. Among the myriad of options, orange peel texture stands out for its subtle yet impactful appearance, reminiscent of its namesake's skin. This texture can elevate a room from flat to fascinating, offering a tactile and visual depth that paint alone cannot achieve. Whether you're a DIY enthusiast or a professional looking to refine your skills, mastering the art of orange peel texture is a valuable addition to your home improvement repertoire.
The Appeal of Orange Peel Texture
Orange peel texture, with its gently undulating surface, brings warmth and a sense of organic elegance to walls and ceilings. It's a versatile finish that can hide imperfections and is less likely to show wear and tear over time, making it a practical choice for high-traffic areas. Furthermore, its application can be a cost-effective way to refresh your space without the need for extensive renovations.
DIY Orange Peel Texture: A Step-by-Step Guide
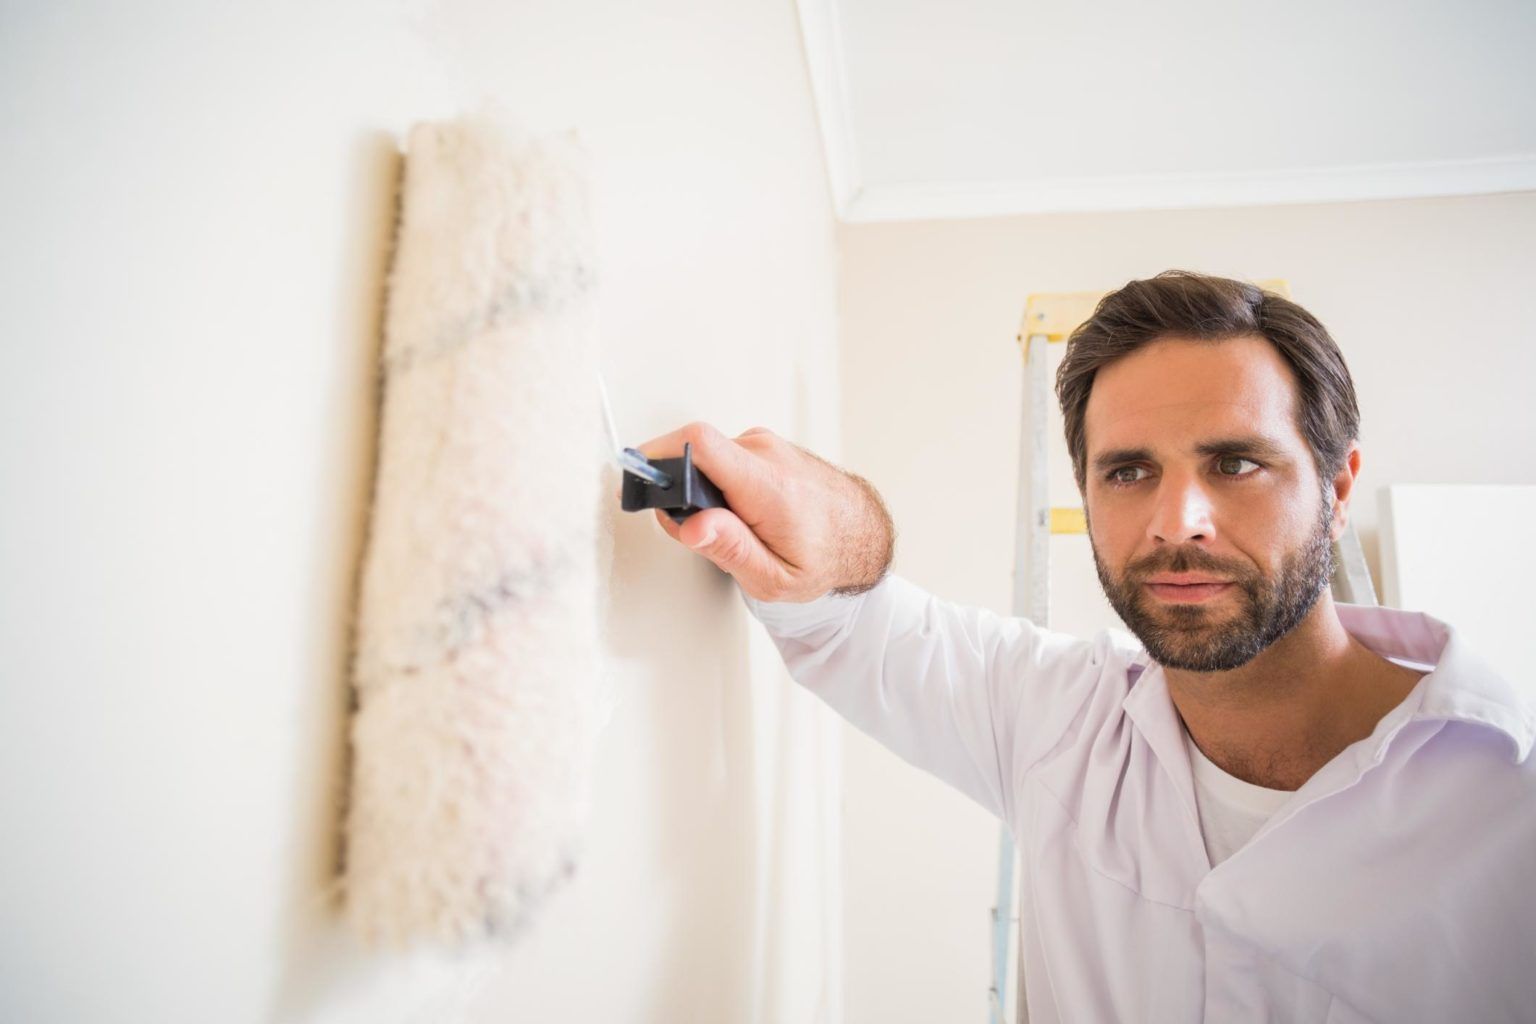
Embarking on a DIY orange peel texture project can be a rewarding endeavor. Here's how you can achieve professional-looking results with the right approach and tools.
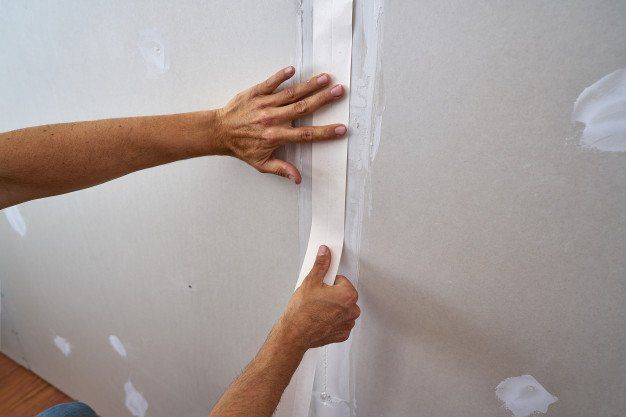
- Preparation is Key: Begin with clean, dry walls. Any holes or imperfections should be filled and sanded smooth. Cover floors and furniture with drop cloths to protect from splatter.
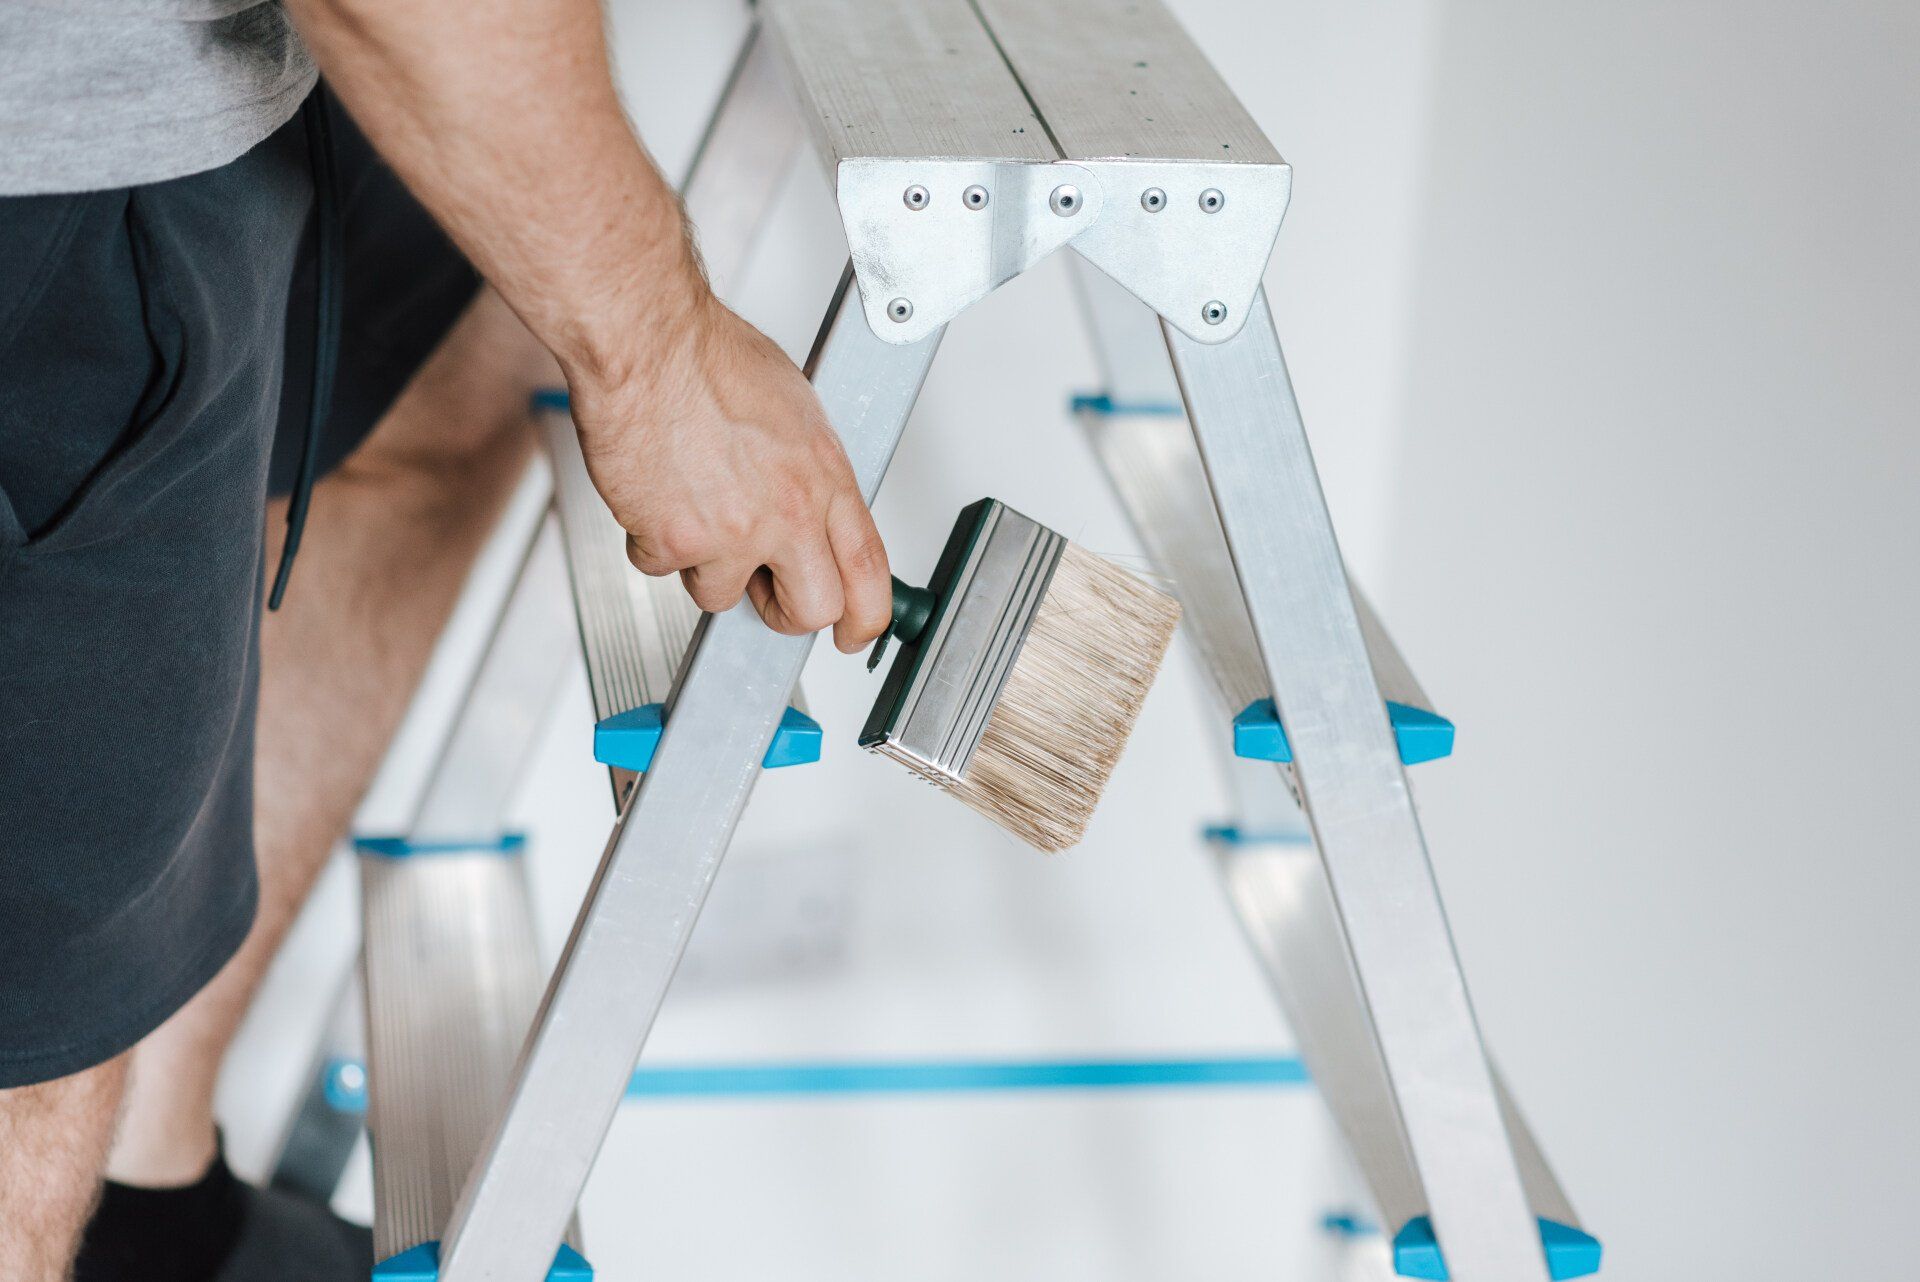
- Choosing Your Tools: For the DIYer, the orange peel texture in a can offers convenience and ease of use. However, for larger areas or a more customized texture, using a drywall orange peel texture roller or a paint roller designed for orange peel texture can offer more control and uniformity.
- Mixing Your Texture: If you're not using texture from a can, you'll need to mix your texture compound to the right consistency. It should be thin enough to roll but thick enough to create the desired texture.
- Application Technique: Using your roller for orange peel texture, apply the compound to the wall in smooth, even strokes. The key to achieving the perfect orange peel texture is consistency in application, ensuring even coverage across the surface.
- Practice Makes Perfect: Before tackling your walls, practice your technique on a spare piece of drywall or cardboard. This step allows you to adjust the texture's thickness and your application technique to achieve the desired effect.
- Painting Your Texture: Once your texture has dried completely, it's time to paint. Use a high-quality paint and a roller suitable for textured surfaces to achieve an even and durable finish.
- Finishing Touches: After the paint has dried, step back and admire your work. The beauty of orange peel texture lies in its subtlety and the dynamic shadows it creates under different lighting conditions.
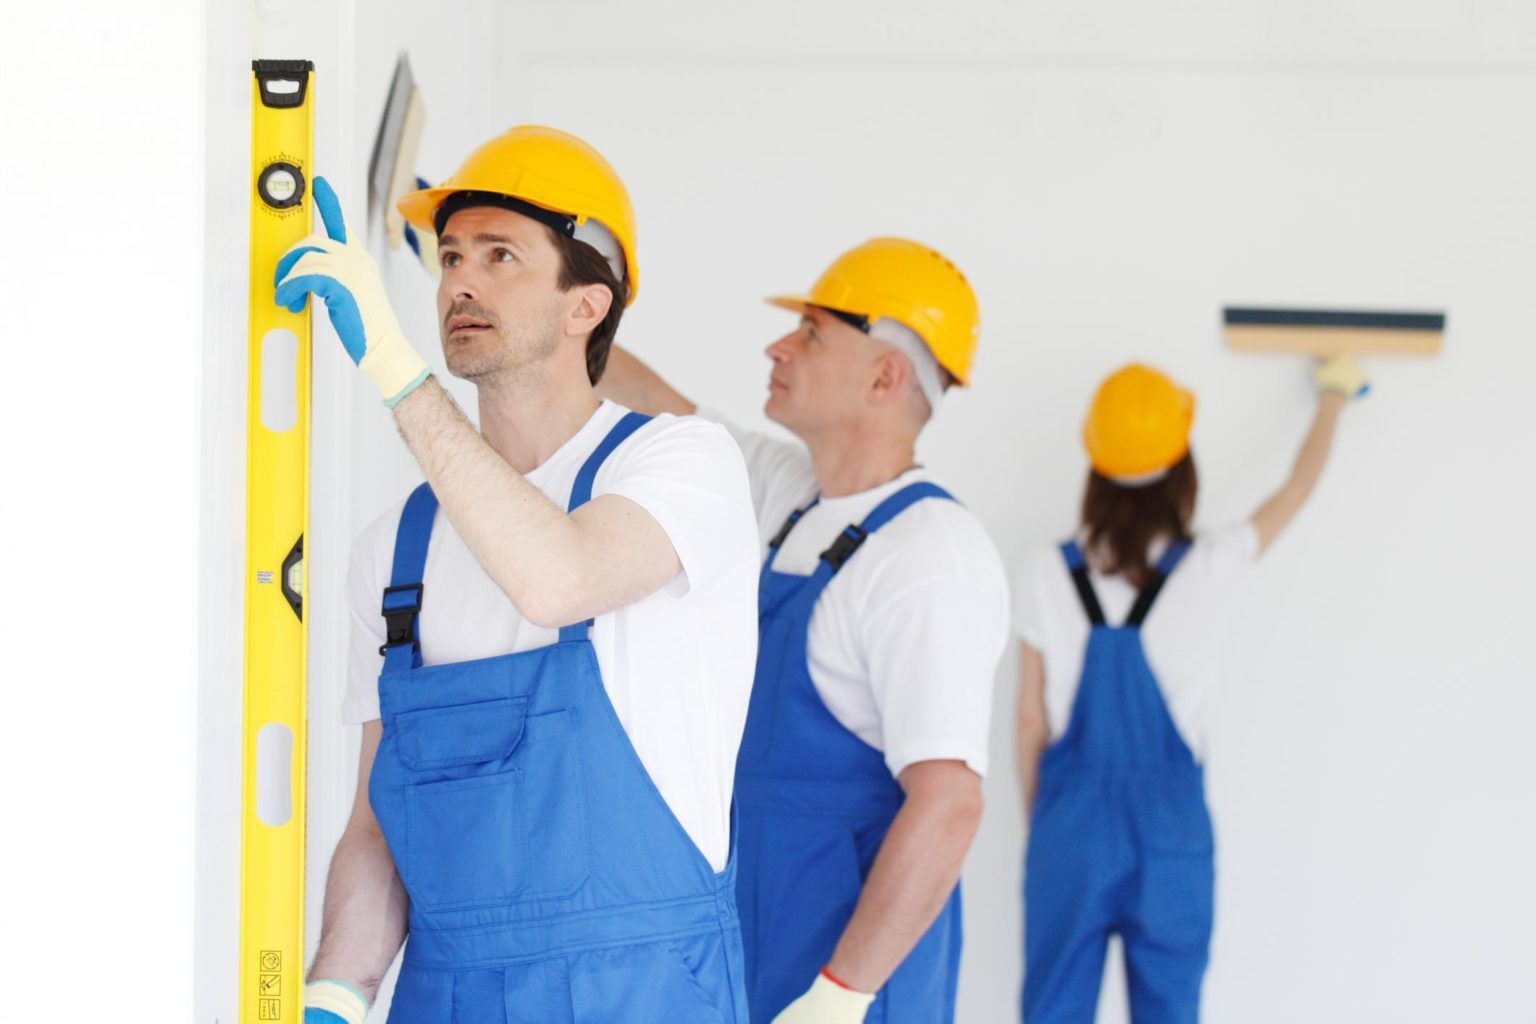
Why Hire Professionals for Orange Peel Texture Application?
- Expertise and Experience: Professionals have honed their skills through extensive training and experience. They can assess the condition of your walls and recommend the best approach, ensuring the texture is applied evenly and appropriately for the surface.
- Quality Results: With their specialized tools and knowledge, professionals can achieve a consistent and high-quality orange peel texture. They know how to mix the compound to the perfect consistency and apply it in a way that minimizes imperfections.
- Efficiency: Hiring a professional can save time and effort, especially for larger projects or entire homes. They can complete the job faster, with minimal disruption to your daily routine.
- Customization: Professionals can tailor the texture's appearance to your preferences, adjusting the size and spread of the texture for a custom look. They can also advise on paint types and finishes that work best with orange peel texture.
- Problem-solving: If issues arise during the application process, such as uneven texture or drying problems, professionals have the knowledge to correct these issues quickly, ensuring a smooth and successful project completion.
Finding the Right Professional
When selecting a professional for your orange peel texture project, consider the following:
- Experience: Look for someone with specific experience in applying orange peel texture.
- Portfolio: Review their past work to ensure their style aligns with your vision.
- References: Speak to past clients about their experience working with the professional.
- Quotes: Get multiple quotes to ensure you receive a fair price for the work required.
Tips for Success
- Consistency is Crucial: Ensure your texture mix is consistent in every batch to avoid noticeable differences on the wall.
- Choose the Right Roller: Not all rollers are created equal. A roller designed specifically for orange peel texture will yield the best results.
- Patience Pays Off: Allow ample drying time between applying the texture and painting. Rushing the process can lead to subpar results.
Creating an orange peel texture is an accessible DIY project that can dramatically transform the look and feel of your home. With patience, practice, and the right tools, you can achieve a professional-looking finish that adds character and depth to your walls. Remember, the key to a successful orange peel texture project lies in preparation, the right roller for orange peel texture, and a steady hand. So, why not give it a try and add a touch of sophistication to your home decor?
For more insights into home improvement projects and tips, explore our homepage, delve into our blogs, or check out our services page for professional advice and solutions.
By embracing the DIY spirit and honing your skills, you'll find that applying orange peel texture is not just about enhancing your home's aesthetic; it's about creating spaces that feel uniquely yours, filled with texture and life.
Ready to work with Dallas Drywall Contractor Pros?
Let's connect! We’re here to help.
Send us a message and we’ll be in touch.
Or give us a call today at 469-908-1924
Agency Contact Form
More Marketing Tips, Tricks & Tools