Patching and Painting: The Essential Guide for Revitalizing Your Walls
The Art of Renewal: Patching and Painting Your Way to Beautiful Walls
In the world of home improvement, few tasks are as satisfying and transformative as patching and painting.
Whether you're dealing with wear and tear or just eager for a change, mastering the art of patch and paint drywall and walls can breathe new life into any room.
This article delves into the step-by-step process of patching and painting walls, ensuring that even beginners can achieve professional results. However, you should always consider
professionals if it's too much of a task for you
Understanding the Basics of Patching and Painting
Patching is often a precursor to painting. It involves repairing small holes, cracks, or imperfections in drywall or plaster. The objective is to create a smooth, unblemished surface that can be painted over. This process is crucial for achieving a flawless finish in your painting project.
Painting, on the other hand, is the act of applying paint to a surface to protect and add color or texture. When done correctly, painting can dramatically change the appearance of a room, making it feel fresh and new.
The Step-by-Step Process
1. Preparing the Area
Before beginning, clear the area of furniture or cover it with drop cloths. Remove any nails or screws from the walls and clean the surface to ensure that it's free of dust and debris.
2. Patch and Paint Drywall
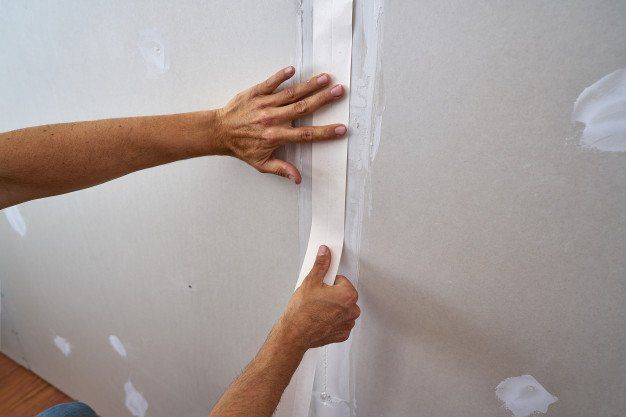
To patch drywall, start by cutting a piece of drywall patching material to fit the hole or crack. Apply drywall compound (also known as mud) over the patch, smoothing it out with a putty knife. Allow it to dry completely, then sand it until it's flush with the surrounding wall.
3. Priming the Patch
Once the patched area is smooth, apply a primer. This step is crucial for ensuring that the paint adheres properly and that the patched area doesn't stand out after painting.
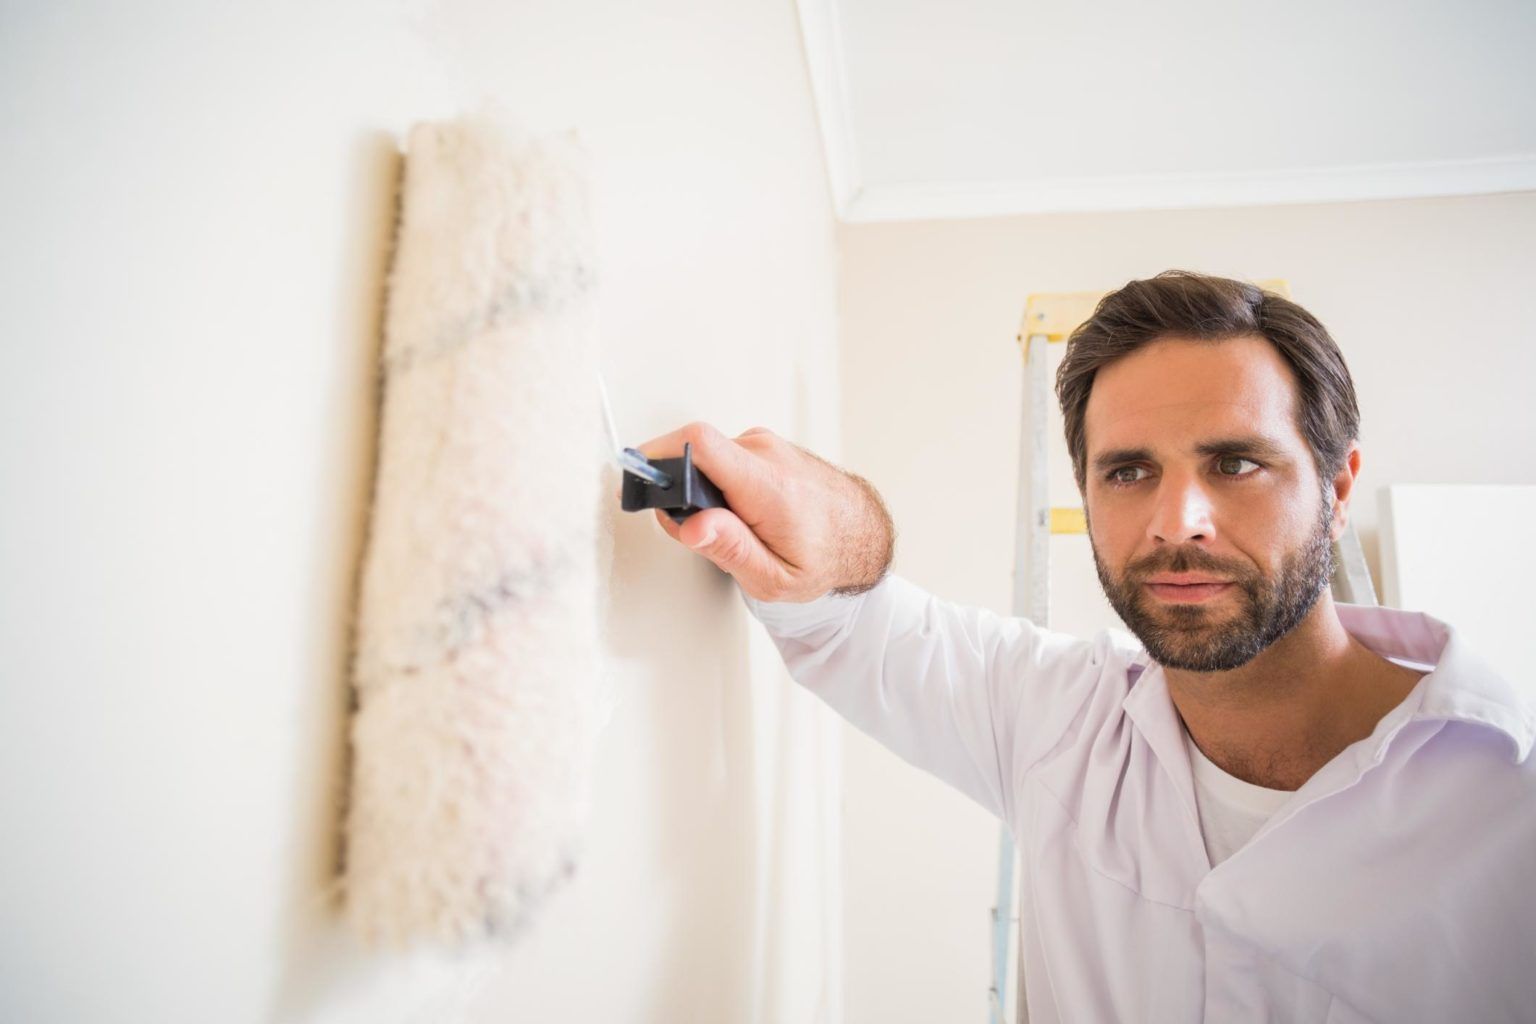
4. Painting the Walls
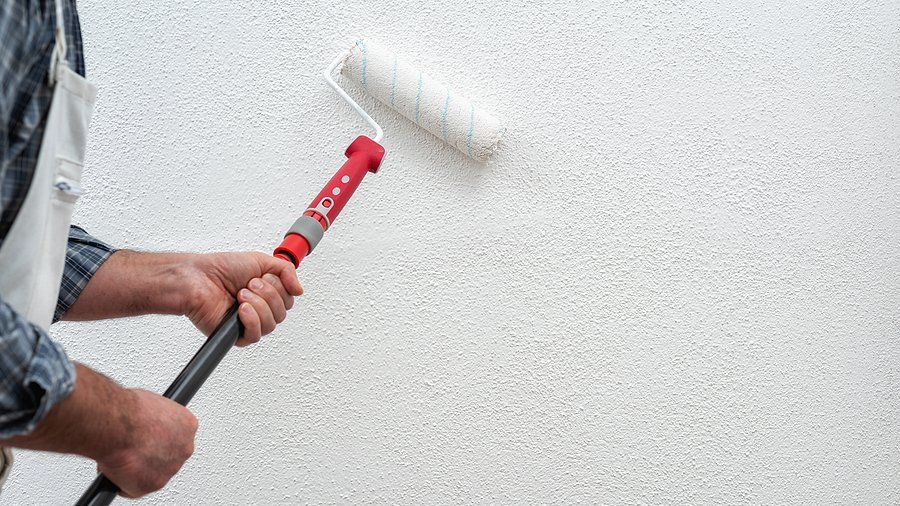
Begin painting from the top of the wall and work your way down. Use a brush for edges and corners and a roller for larger areas. Apply paint in thin, even coats, allowing each coat to dry before applying the next.
5. Finishing Touches
Once the final coat of paint is dry, remove any painter's tape, clean up your tools, and replace any fixtures or cover plates. Your wall is now beautifully patched and painted!
Common Mistakes to Avoid
Skipping primer on patched areas, leading to uneven paint coverage.
Applying paint too thickly, resulting in drips and streaks.
Neglecting to sand the patched area smoothly, causing visible imperfections.
Tools and Materials Needed
Drywall patching material
Drywall compound
Putty knife
Sandpaper
Primer
Paint
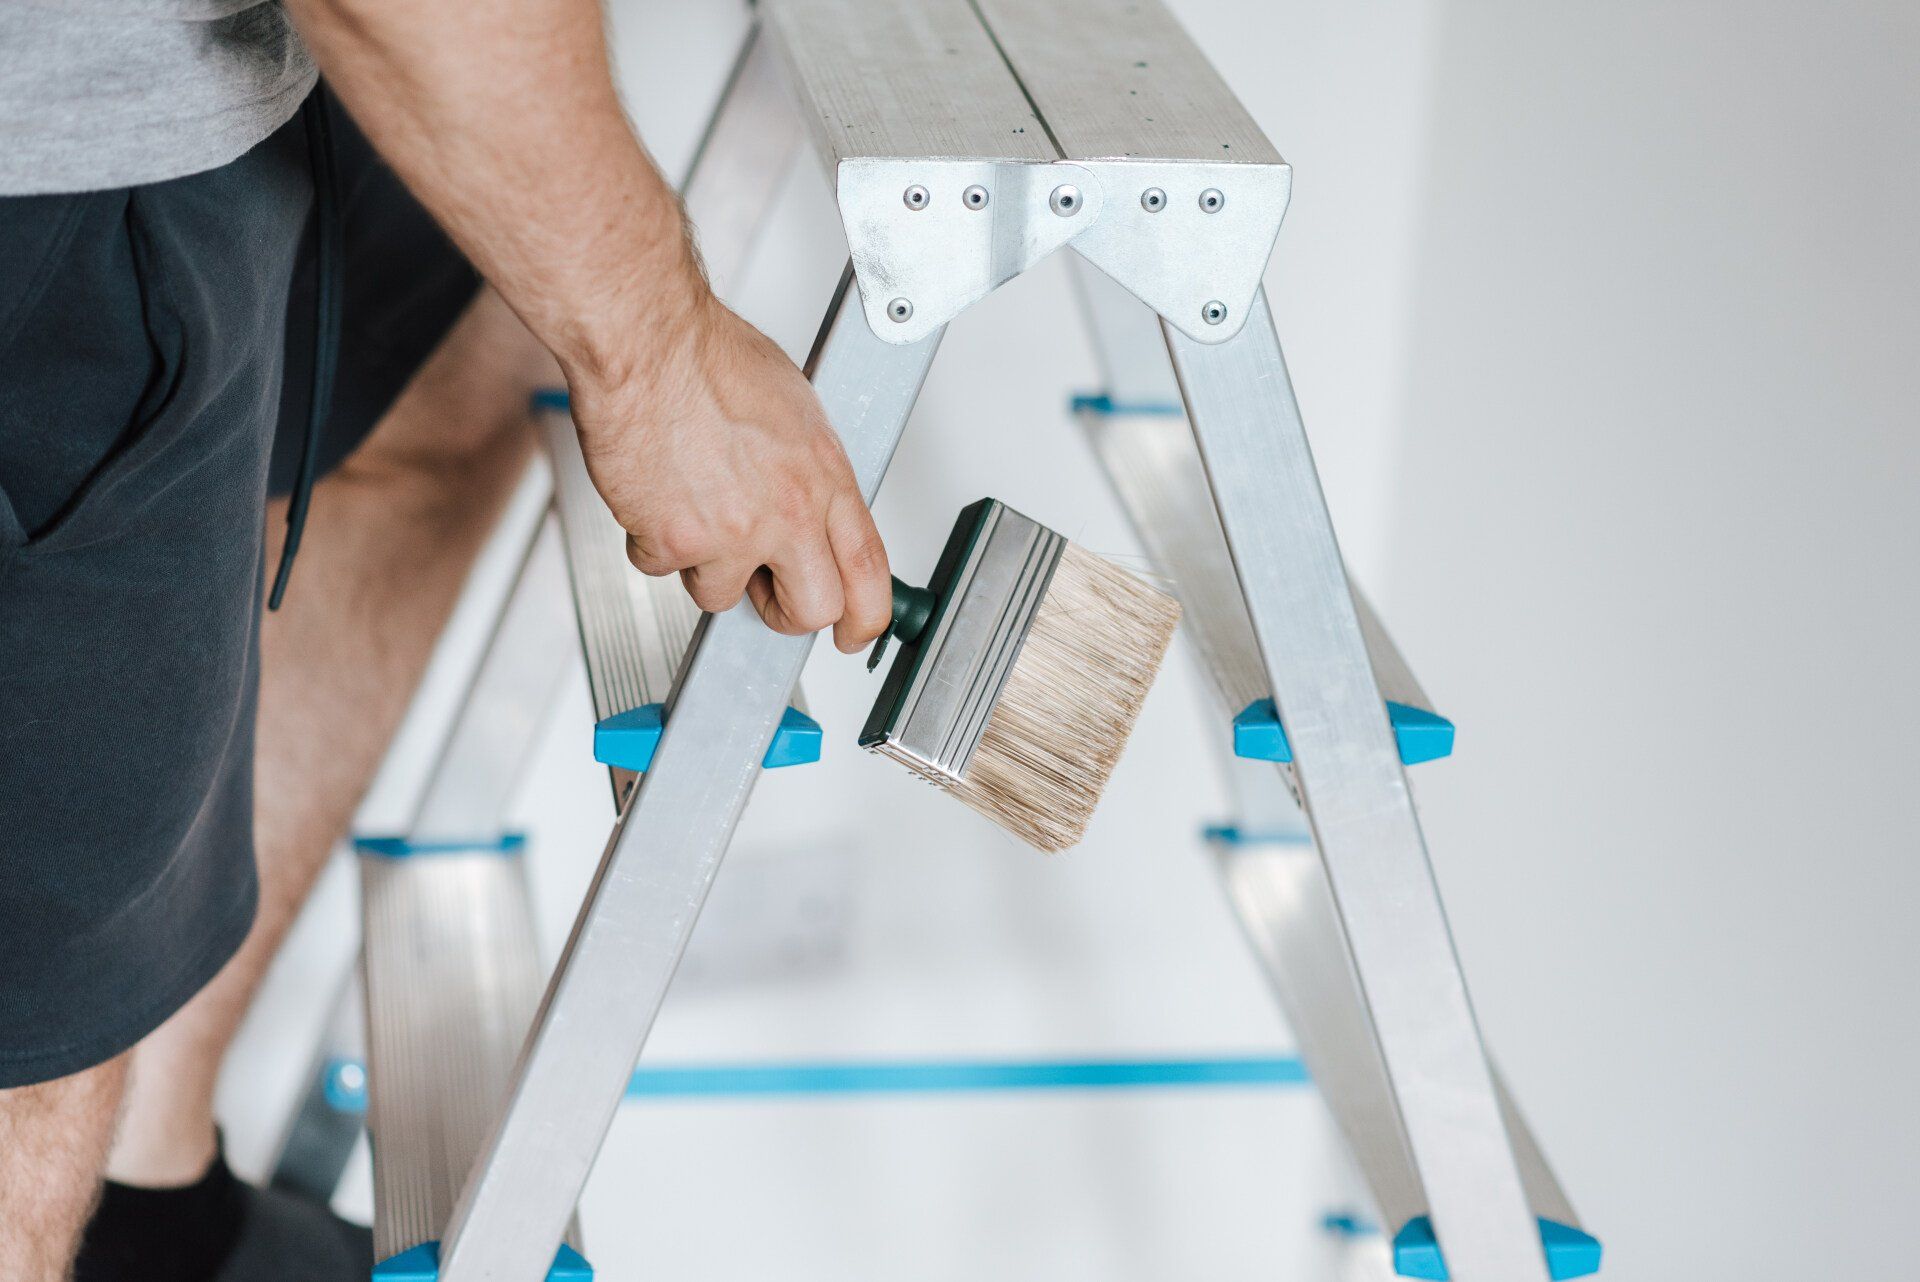
Paintbrushes and rollers
Drop cloths
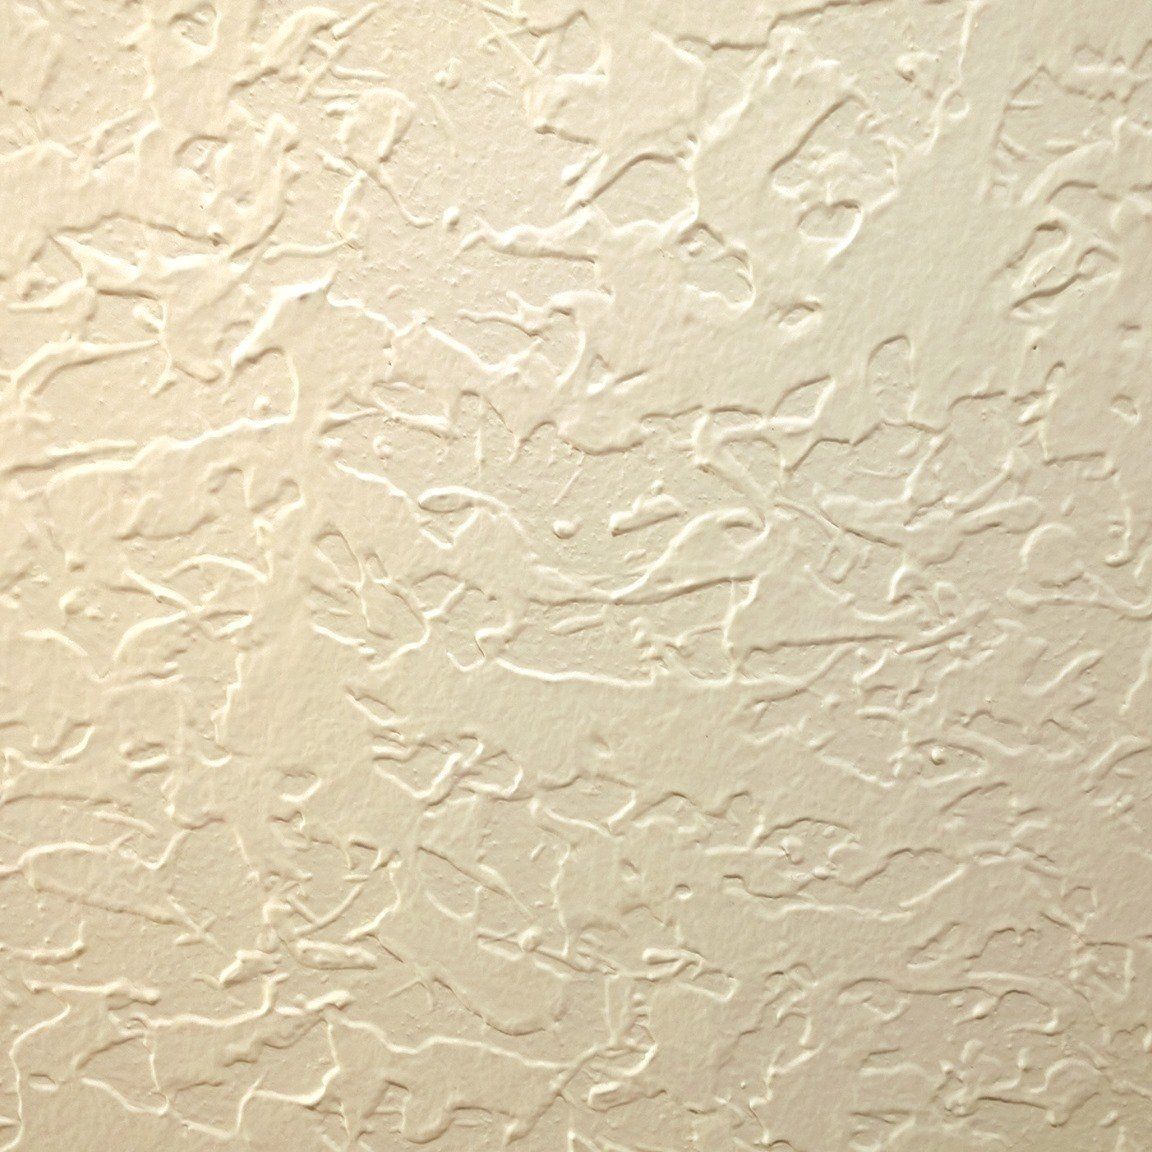
Also don’t try to make hard textures like knock down textures unless you have help.
Seeking Professional Help for Patching and Painting
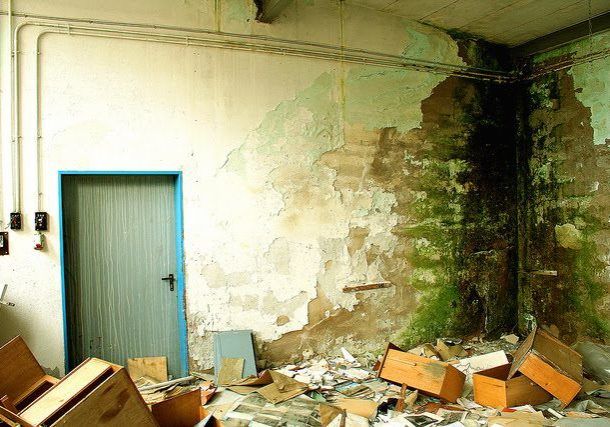
When to Consider a Professional: While DIY patching and painting can be rewarding, there are times when seeking professional help is advisable. If you're dealing with extensive damage, such as large holes, water damage, or significant wall imperfections, a professional can ensure proper repair and a flawless finish.
Additionally, if you're unsure about color choices or paint types, a professional painter can provide valuable advice. They have the expertise to handle complex situations, such as matching textures or dealing with historical home features.
Hiring a
professional also saves time and guarantees a level of quality that might be challenging to achieve on your own. Remember, the investment in professional services often pays off in the longevity and quality of the finished work.
Conclusion
Patching and painting are essential skills for any homeowner or DIY enthusiast. By following these steps and avoiding common pitfalls, you can ensure a smooth, professional-looking finish. Whether you're tackling a small patch or an entire room, the satisfaction of transforming a space with your own hands is unmatched.
Ready to work with Dallas Drywall Contractor Pros?
Let's connect! We’re here to help.
Send us a message and we’ll be in touch.
Or give us a call today at 469-908-1924
Agency Contact Form
We will get back to you as soon as possible
Please try again later
More Marketing Tips, Tricks & Tools
Dallas Texas Drywall Pros
469-908-1924

